English
 Русский
Module retailCRM #
Feature List #
- Registration of the order with the delivery service.
- Editing an order.
- Order cancellation.
- Calculation of shipping costs.
- Printing documents.
- Two modes of module operation (more)
Installation #
To connect the ApiShip module, you need to create an API Key in retailCRM.
The API Key must have rights to:
- Getting a list of delivery types (
/api/reference/delivery-types). - Adding\editing a delivery type (
/api/reference/delivery-types/{code}/edit). - Updating order statuses (
/api/delivery/generic/{code}/tracking). - Getting module settings (
/api/integration-modules/{code}). - Adding\editing a module (
/api/integration-modules/{code}/edit). - Getting a list of payment types (
/api/reference/payment-types). - Getting a list of delivery statuses (
/api/reference/statuses). - Getting a list of warehouses (
/api/reference/stores).
After creating the API Key, you need to register in your ApiShip personal account.
Next, you need to in the retailCRM marketplace select the ApiShip delivery module and click “Connect”.
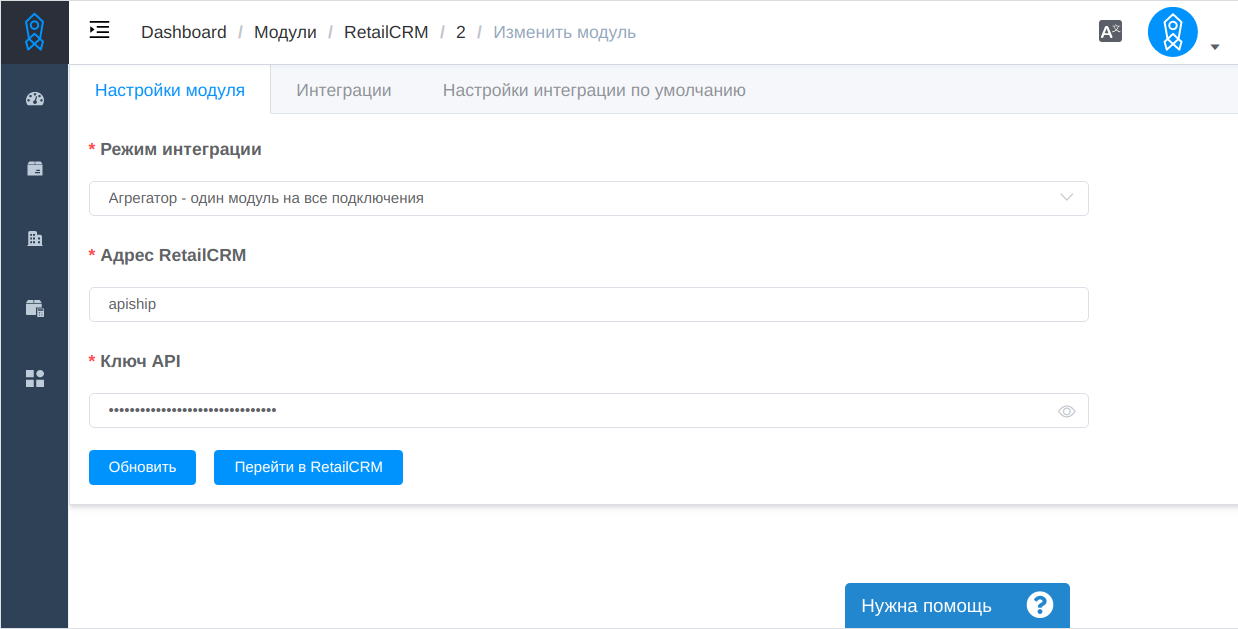
In the Personal Account, you will need to fill in the module settings, select the integration mode and click “Connect” (you will be redirected back to retailCRM).
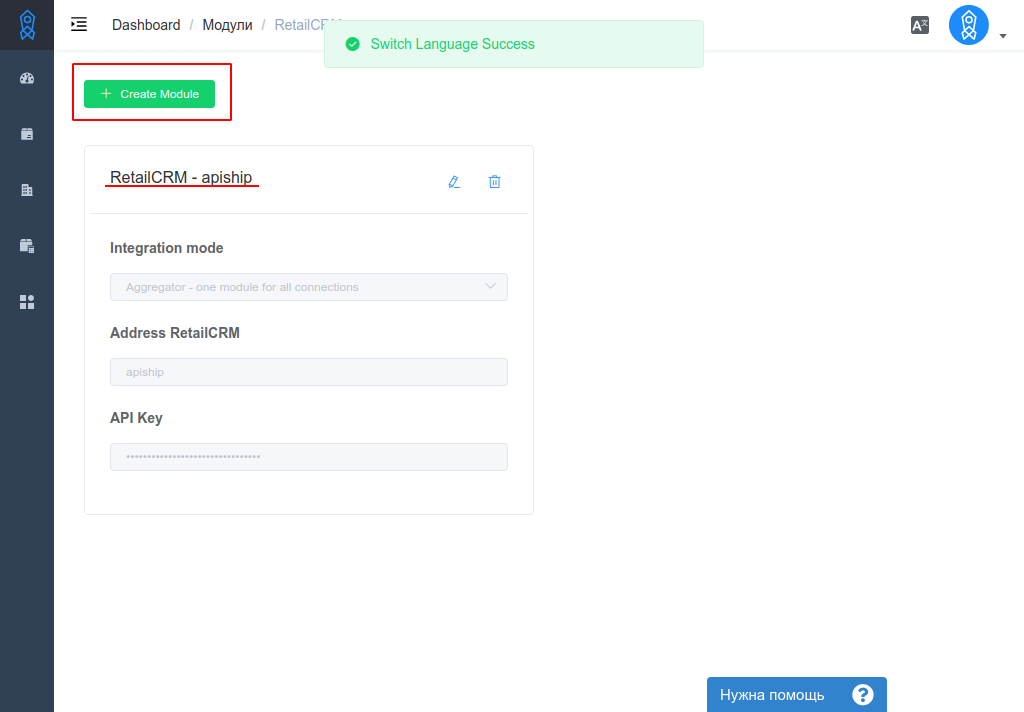
Connecting additional modules (accounts) #
ApiShip also supports multi-accounting. If you have several accounts in retailCRM, you can create a module for each.
List of integrations #
The created module has a list of created integrations in retailCRM.
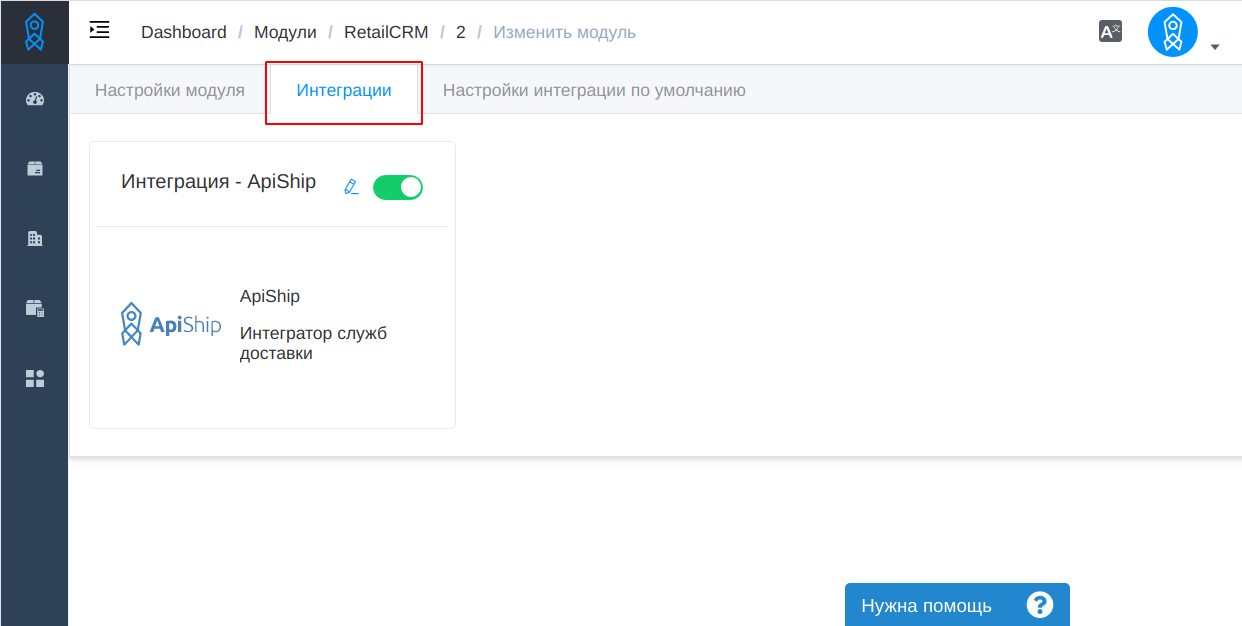
Integration setup #
Each integration can be edited and turned off.
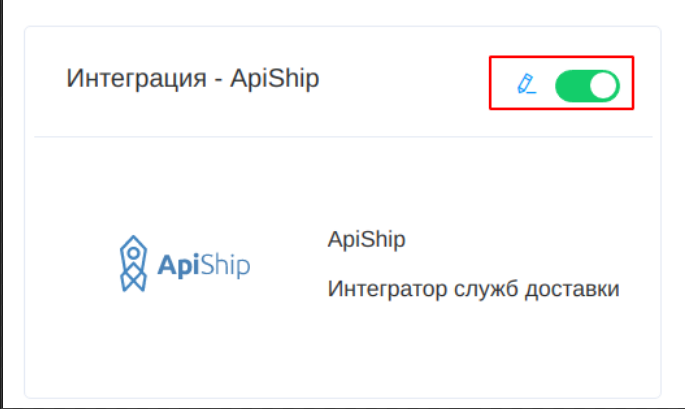
When the integration is disabled, the integration itself and the type of delivery associated with it are disabled. Also, the statuses of orders created through the integration stop updating.
Integration editing.
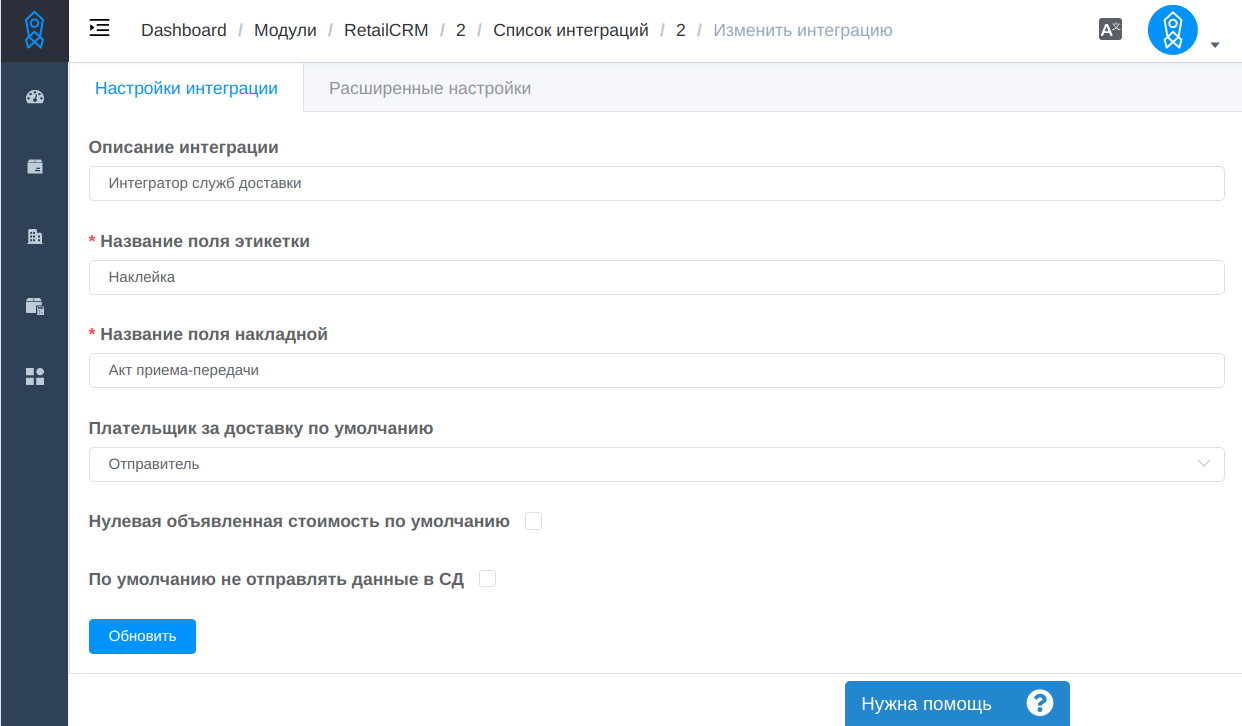
Fields:
- Description of integration - description of the integration, which is displayed in the list of module integrations and on the page of the retailCRM module.
- Label field name - field name, which is displayed in retailCRM in the section
Order\Management\Print\{field_name}when printing order documents. - Invoice field name - field name, which is displayed in retailCRM in the section
Order\Management\Print\{field_name}when printing order documents. - Payer for delivery by default - sender or recipient.
- Default null declared value - if the value is active, the declared value of the order is not transferred to the DS.
- By default, do not send data to the DS - when the value is active, by pressing the “Save” button in the order, the data is not transferred to the DS.
For direct integration mode only!There are 2 additional fields:
- Integration name - the name of the integration, which is displayed in the list of module integrations and on the retailCRM module page.
- Logo URL - URL of the image that is displayed instead of the base ApiShip logo.
Integration mode #
The module supports 2 modes of integration:
- “Aggregator” mode - one module is installed in retailCRM that works with all connected delivery services.
- “Direct” mode - a separate module is installed in retailCRM for each existing connection to delivery services. For example, if 2 connections to CDEK and 1 to DPD are created in the account, then 3 modules will be installed in retailCRM.
Update list of integrations #
For direct integration mode only!If a new connection to the DS has been created in the account and on its basis you need to create an integration into retailCRM. You need to go to the module settings and click the “Update” button.
Additional integration settings #
For each integration, you can define default settings.
In the settings of the module in the tab “Default integration settings” you can define global settings that will be used in newly created integrations. For example, direct module mode is enabled and it has 5 integrations, then these integrations will use the default settings and you will not need to configure the same for each.
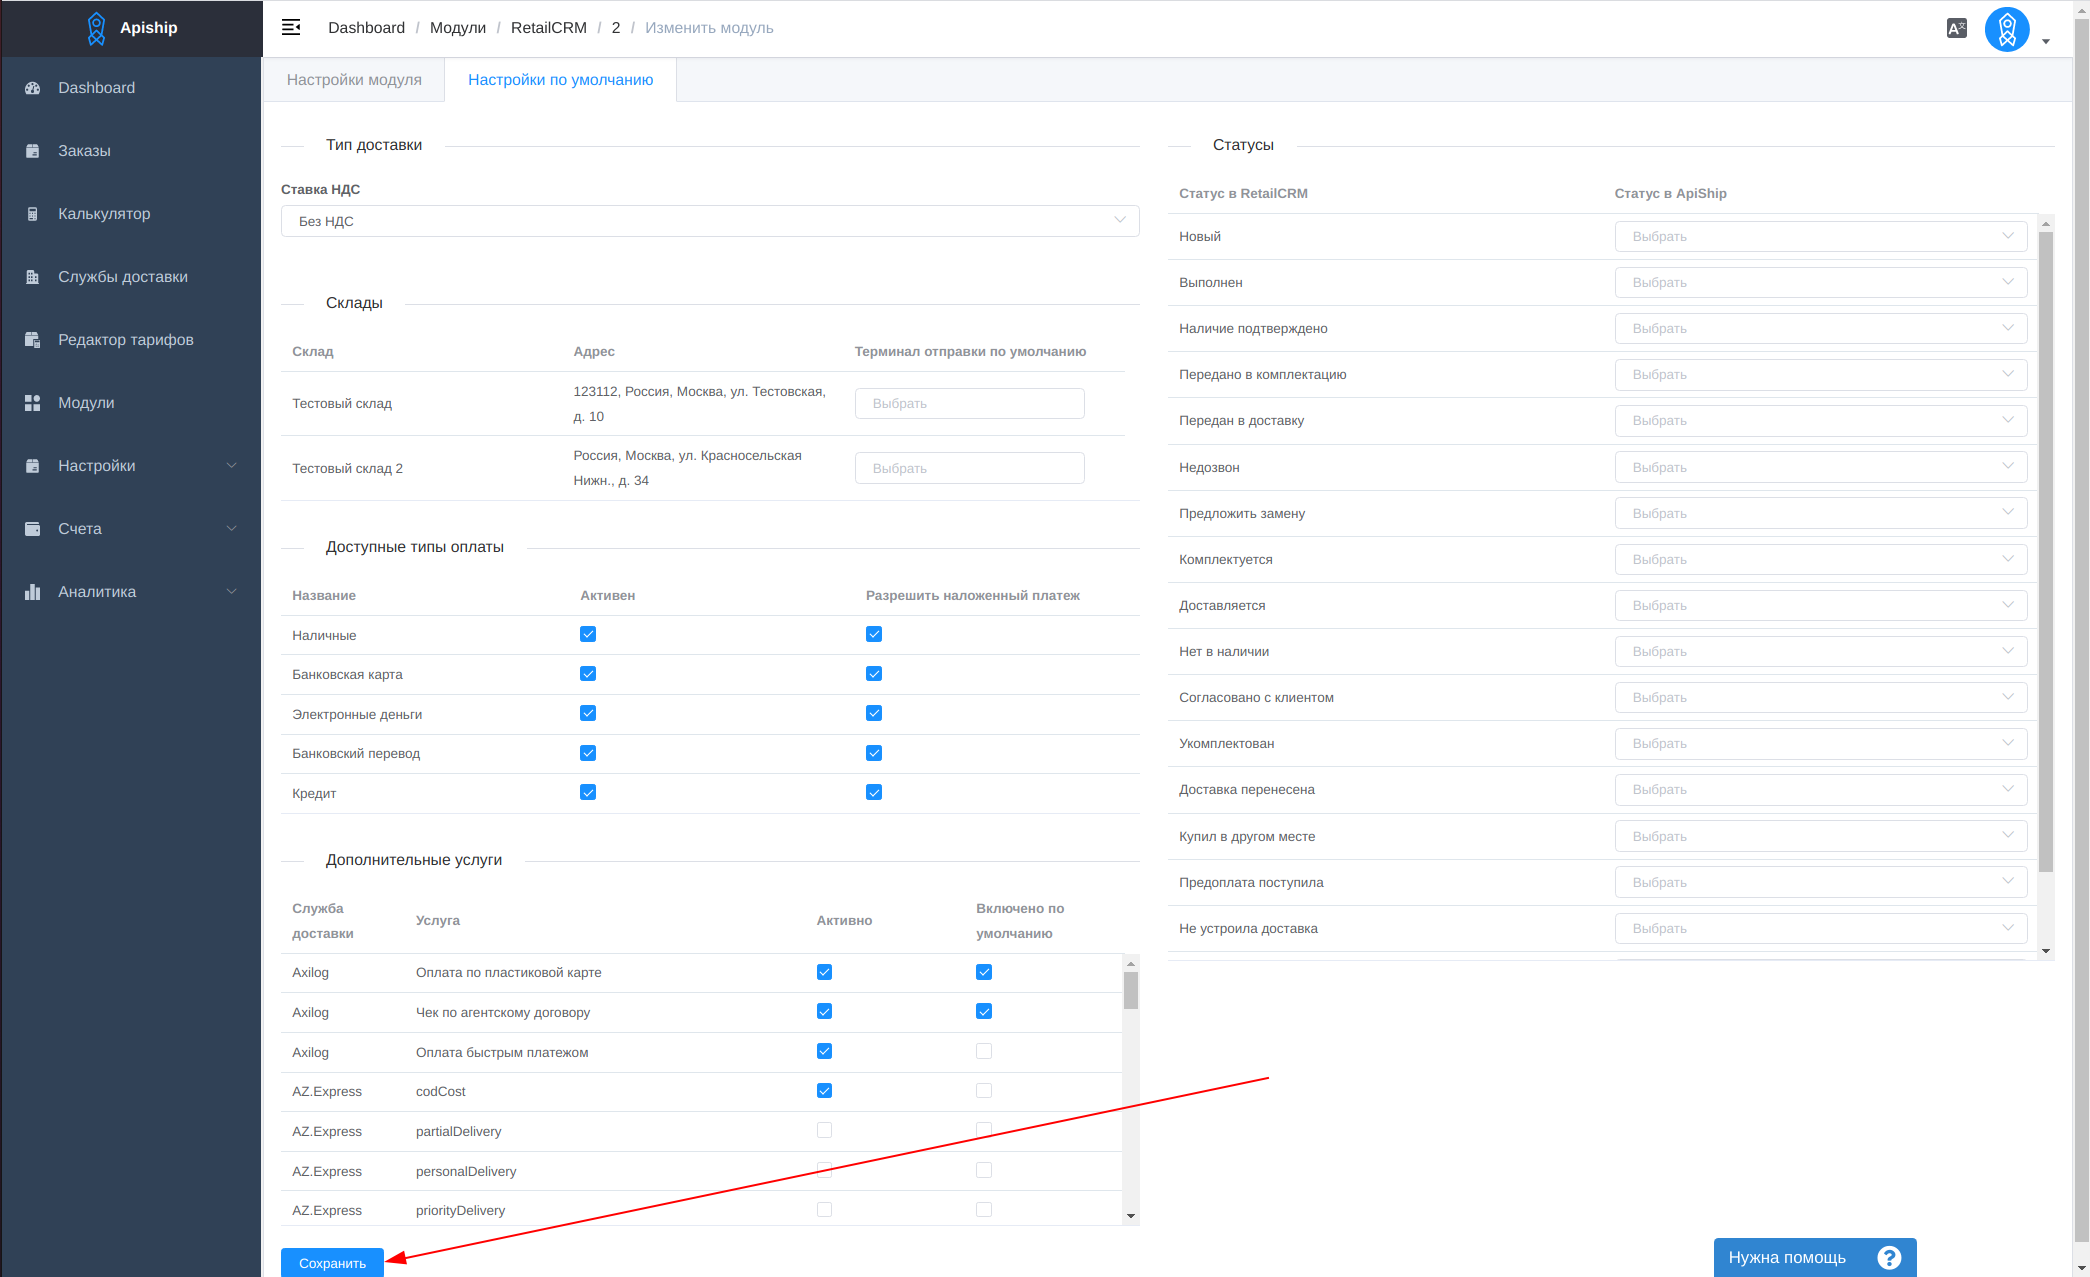
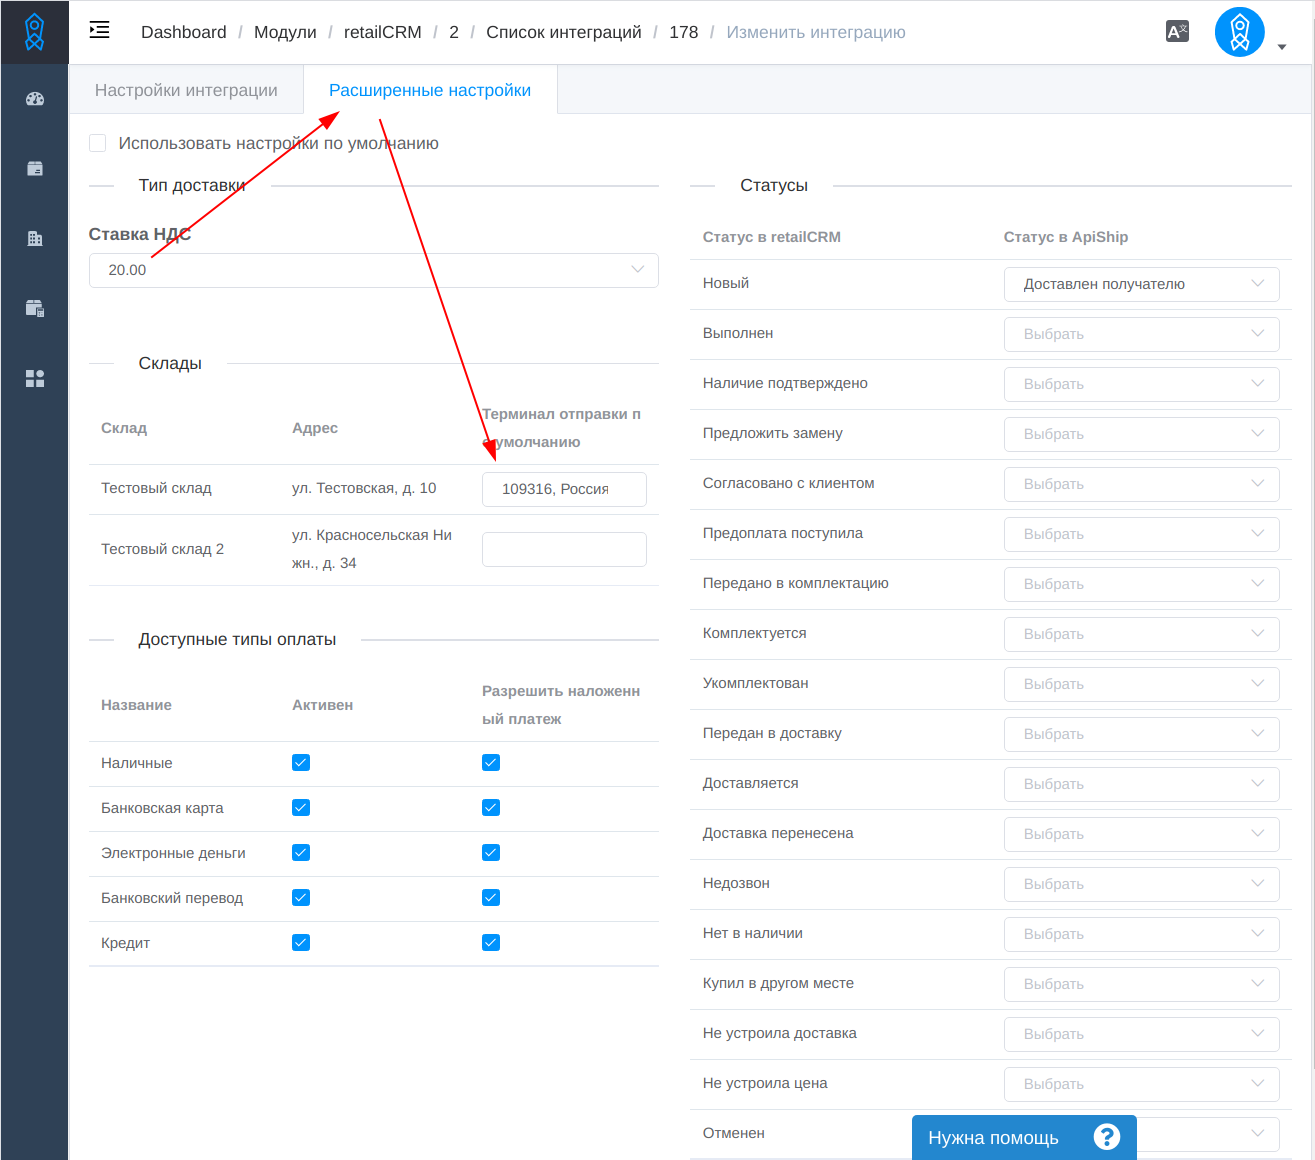
For each integration, you can override the default settings. For example, direct module mode is enabled and it has 5 integrations, and in some one you need to disable the cash payment type. In the integration settings in the “Advanced settings” tab you need to unchecked the “Use default settings” box and configure the integration according to the necessary requirements.

Delivery setup #
By default, the modules count tariffs “Door- {Terminal, Door}”.
In the order creation form in retailCRM, you can specify the shipping terminal. Then the tariffs “Terminal- {Terminal, Door}” will be calculated.
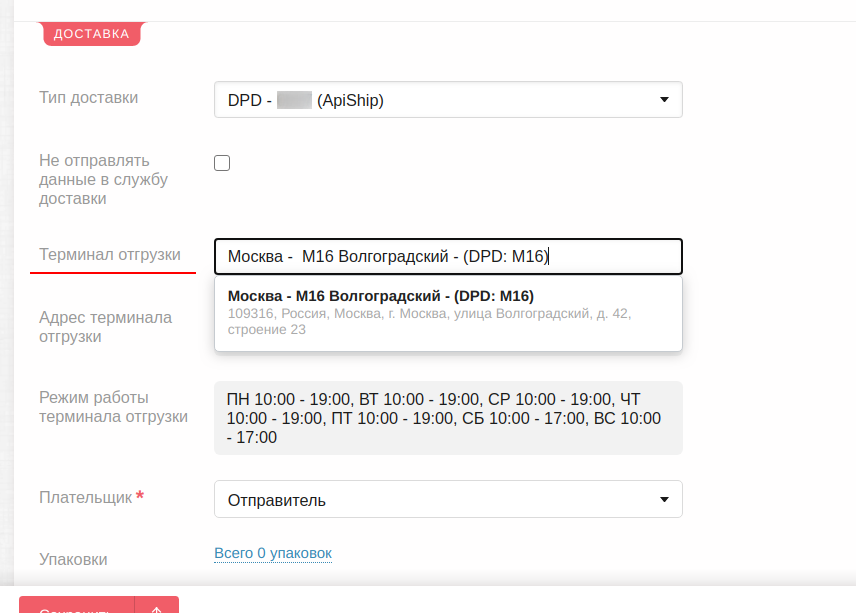
In the advanced integration settings, you can specify the default shipping terminal. Then the “Terminal- {Terminal, Door}” tariffs will always be calculated.